☆Building a Header Template☆
 Live template preview | Install pre-made template
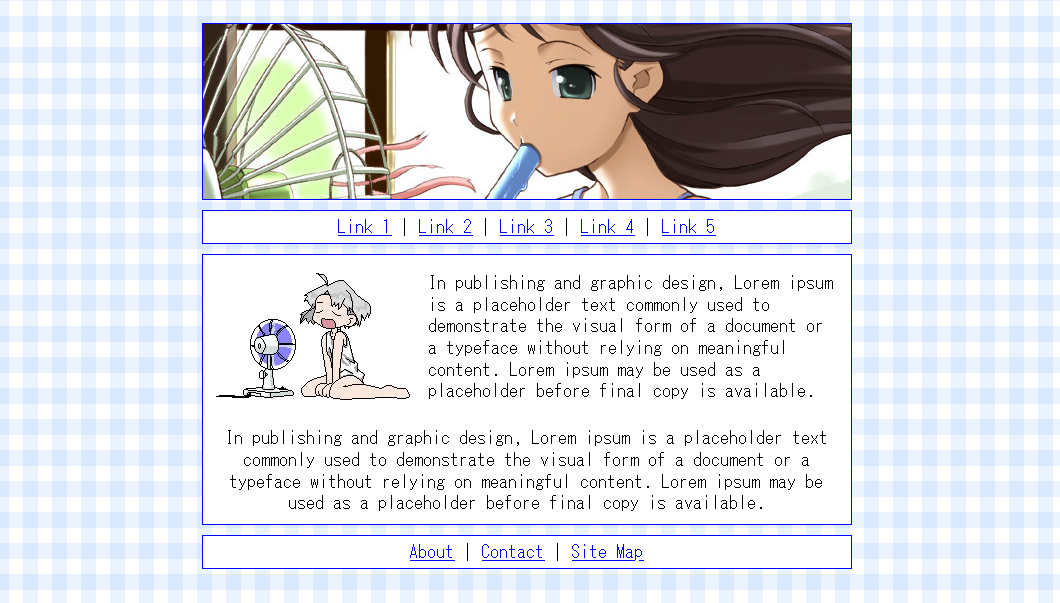
Quick guide to the properties used here and what they do
Below, I'll walk you through how to create a Neocities layout similar to the one above. I'll show you how to code the header, 2 content elements, and a footer. (Or you can install the pre-made one).
There are many different ways to code, but everything I code looks like this. If you don't already have something, feel free to use this:
Let's start with the container.
The container is what holds everything together. It's useful for moving all of the content at once, having all elements be the same size, so on.
In this, you'll see that I've included margin and some positioning properties. The margin is the space above and below the container - it distances it from the top and bottom parts of the pages. You can remove this if you want no space, or change the numbers as you like.
Position, left, and transform put the container at the center of the page. Remove or adjust to your liking. (Note that "position:absolute" is needed for the transformation to work, though).
In my template, I made the header image a background of the element instead of a regular image inside it. "Object-fit: fill;" and "background-position: 50% 30%;" make it where your header will fit into the element without overflowing, and you can adjust the position of the image instead of having to alter the image itself.
You'll have something that looks like this:

(Of course, change your header image to whatever you want).
After this, we can make the "links" element. You can put anything in this box, but I chose to put links inside.
I added "margin:10px 0 10px 0;" to #header so that the links and header have space between them instead of being smushed together.

Now, you can add the actual content. You can put anything here! I left it mostly empty, but when making sites, I like to use things like tables, and include information such as about the site, me, or updates.
If you want the content to be a certain height and scroll, then add "max-height:200px" (number can be changed to your liking) and "overflow-y:auto." This makes it where when the box exceeds a certain height, it won't get bigger, but will just develop a scroll function.
But if not, then the box will get bigger as more things is added to it, and your entire page will eventually scroll (like this one).
Finally, the footer. Remember that you don't have to stop here, you can continue to stack boxes on each other as you see fit!
Footers are often used to include things like buttons, contact, maps, text and other links, much more.
The final product looks like this. It's very simple.

Decorate the page as you like i.e background image, fonts, custom links, etc.

The rest of the page's design is up to you.